Documentation Index
Fetch the complete documentation index at: https://domoinc-jkreitzman-patch-1.mintlify.app/llms.txt
Use this file to discover all available pages before exploring further.
Intro
With Cloud Integrations, you can query and visualize Lakebase data directly in Domo without copying or duplicating data.Before You Begin
- Confirm you have an account with access to Lakebase.
- Ensure the Lakebase service account has the following Postgres privileges:
CONNECTon the database — database visibilityUSAGEon the schemas — schemas visibilitySELECTon the tables — query data
- Go to Lakebase Advanced Settings, enable Postgres native role login, and create a native username and password. You will use these credentials in steps 4 and 5 of Create a Lakebase Service Account.
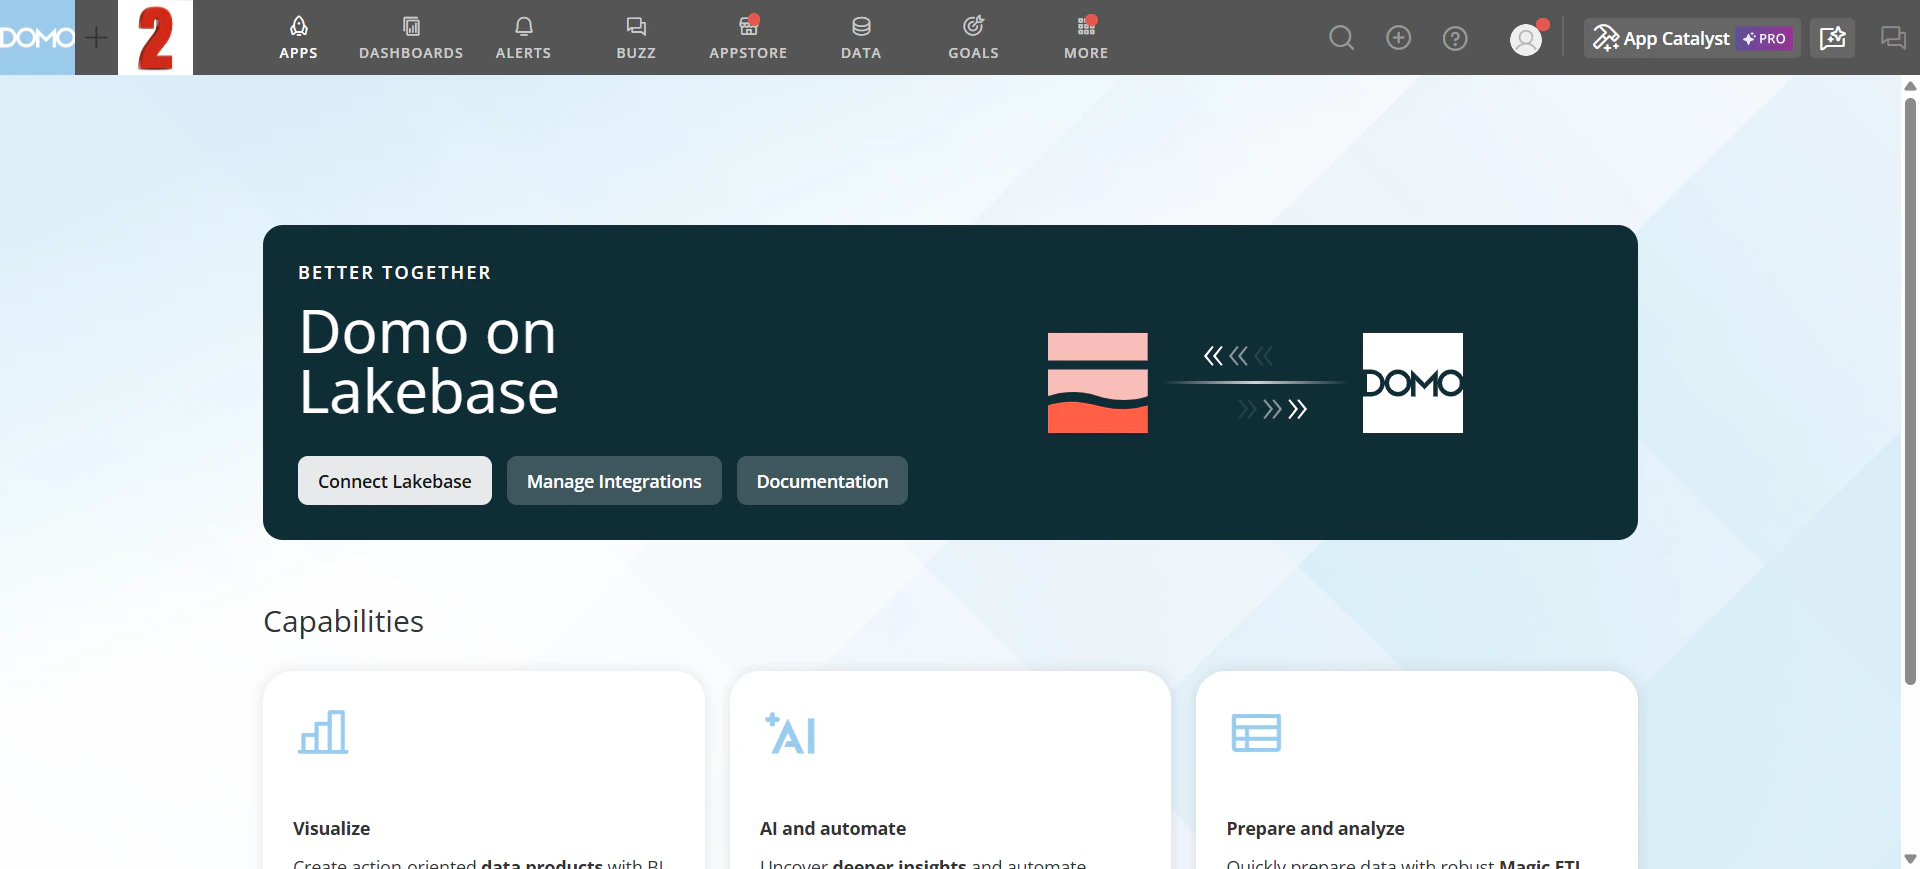
Access the Lakebase Integrations Page
- Navigate to Data Warehouse.
- Select Connect Data.
- From the Cloud Integrations list, select Lakebase.
The Domo on Lakebase page appears.
Create a Lakebase Integration
Every Lakebase integration requires a Lakebase service account. A single service account can be reused across multiple integrations. Multiple integrations can coexist in the same Domo instance, so use clear, descriptive names.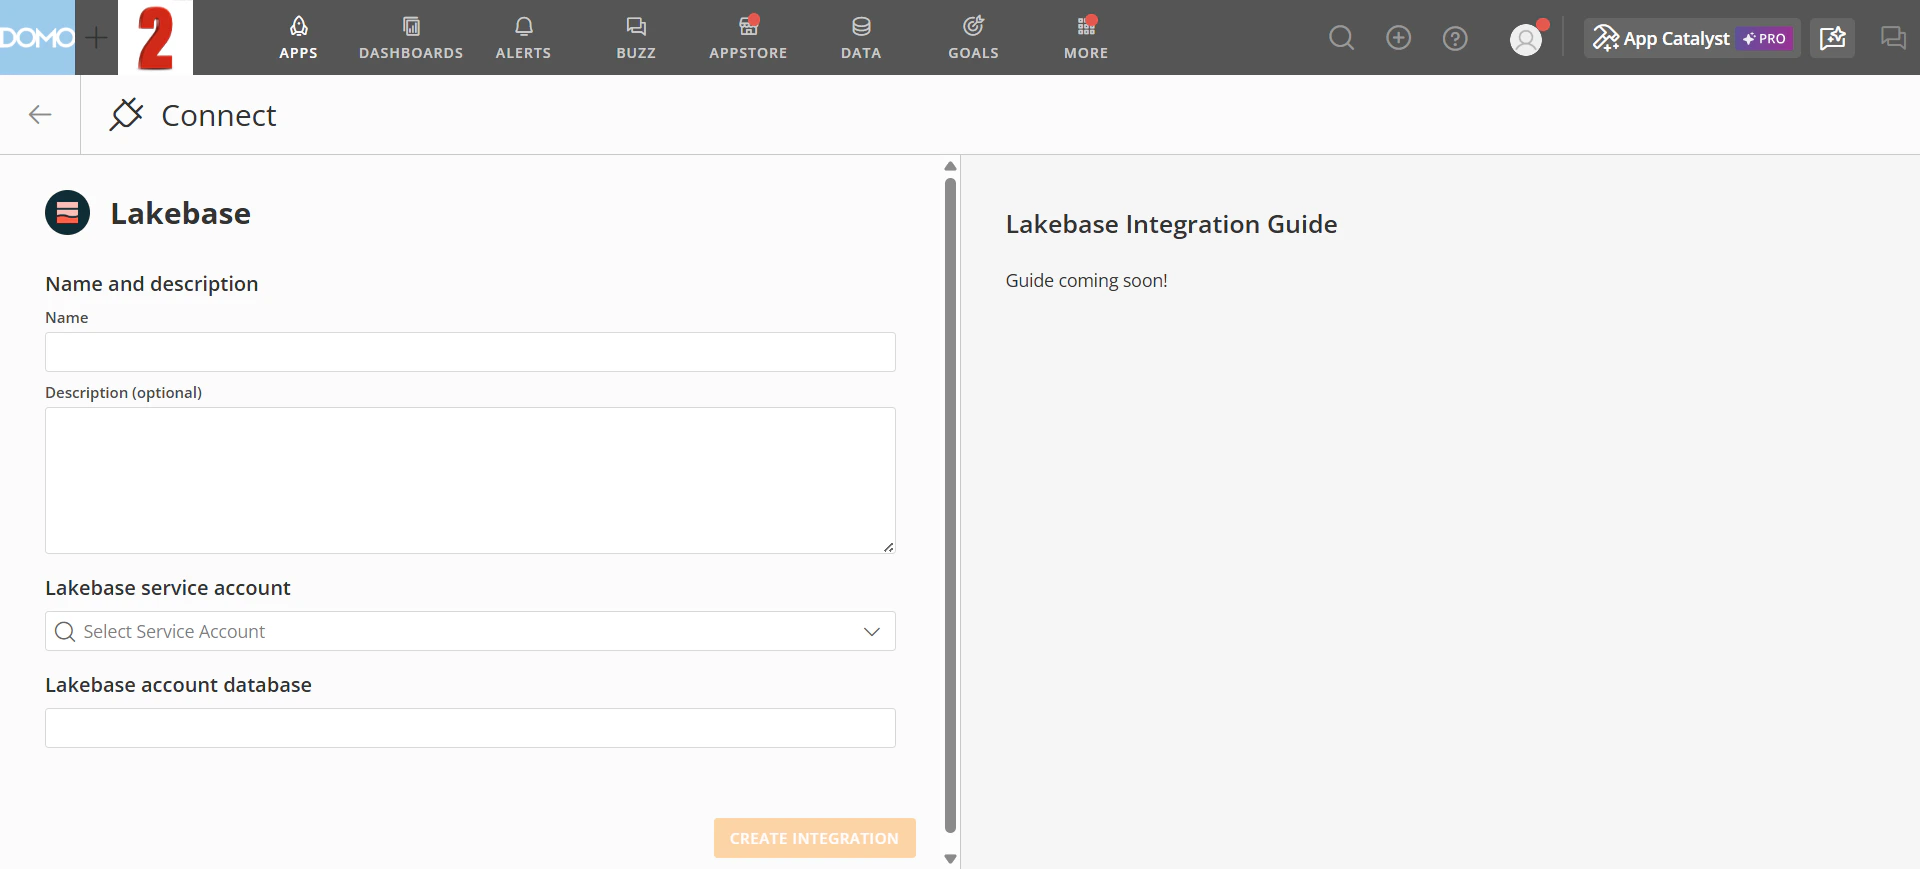
- Enter a Name for the integration. This label identifies it within Domo — it doesn’t need to match any Lakebase names and can be changed later.
- (Optional) Enter a Description to explain the purpose of the integration and who created it. Most users see only the integration name in menus and lists — the description appears only in integration details.
- In the Lakebase Service Account field, select an existing service account, or select + Add Account to create a new one. If you select + Add Account, the New Lakebase Service Account dialog appears — see Create a Lakebase Service Account below before continuing.
- Enter the Lakebase Account Database — the name of the database that contains your Lakebase tables.
- Select Save Integration.
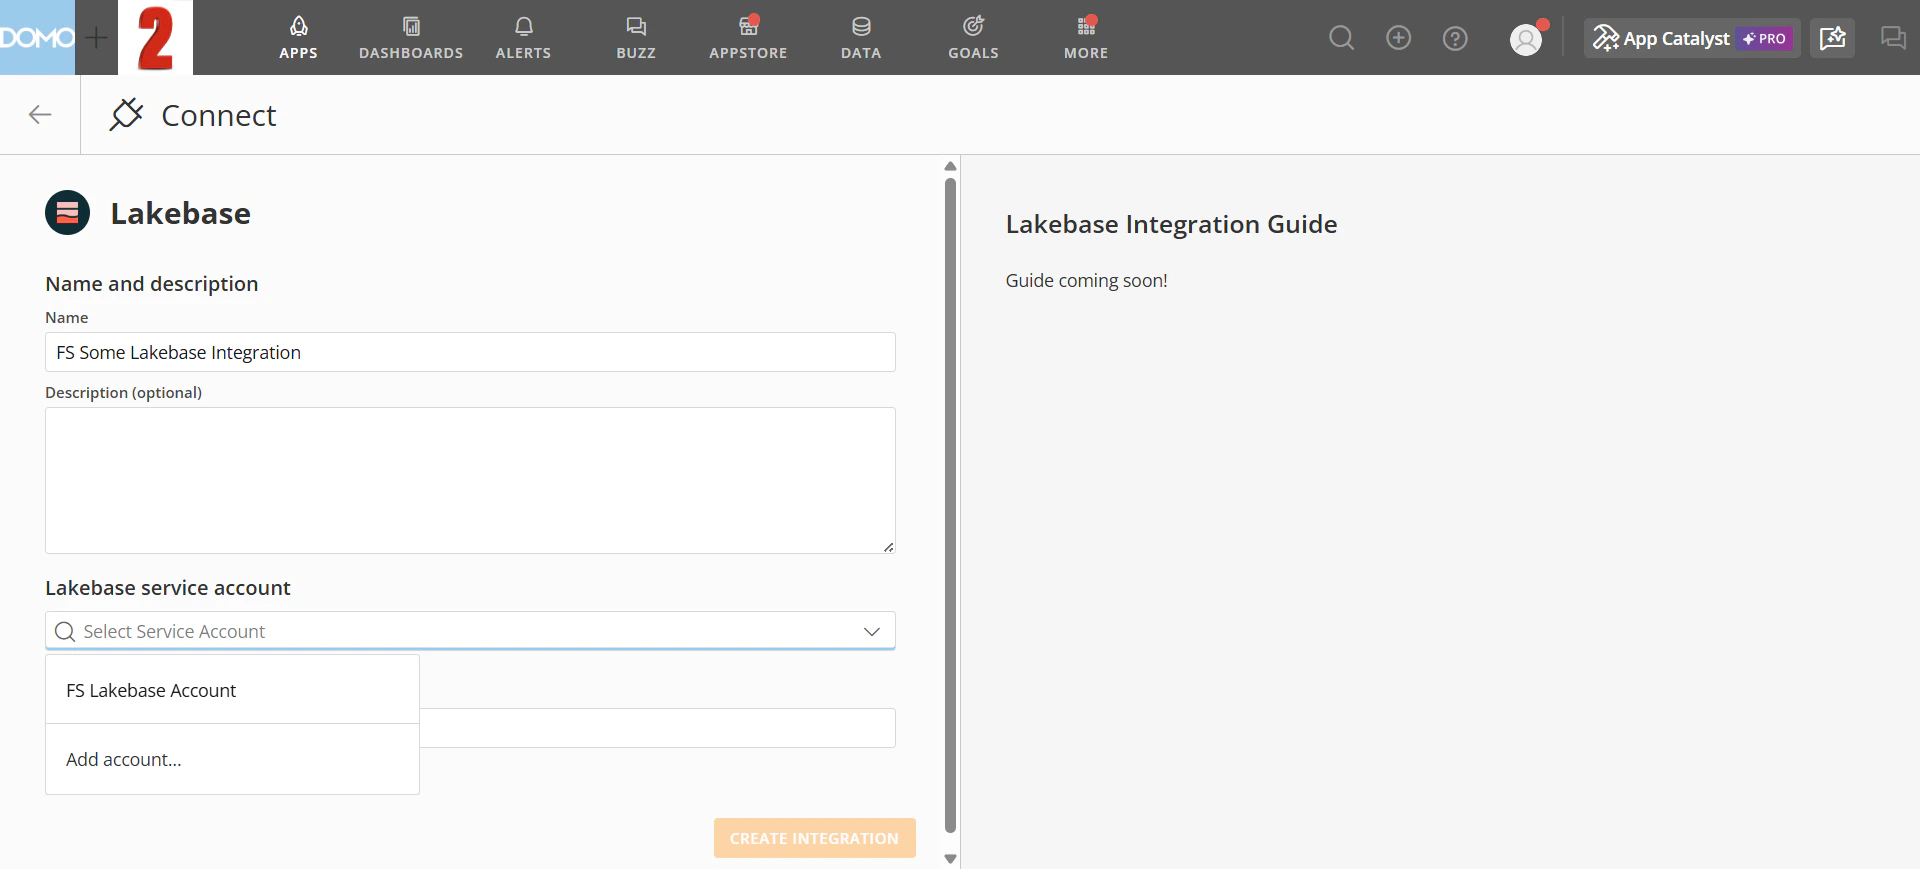
Create a Lakebase Service Account
To view and manage existing service accounts, go to Accounts in Domo. You can create multiple service accounts for the same Lakebase instance.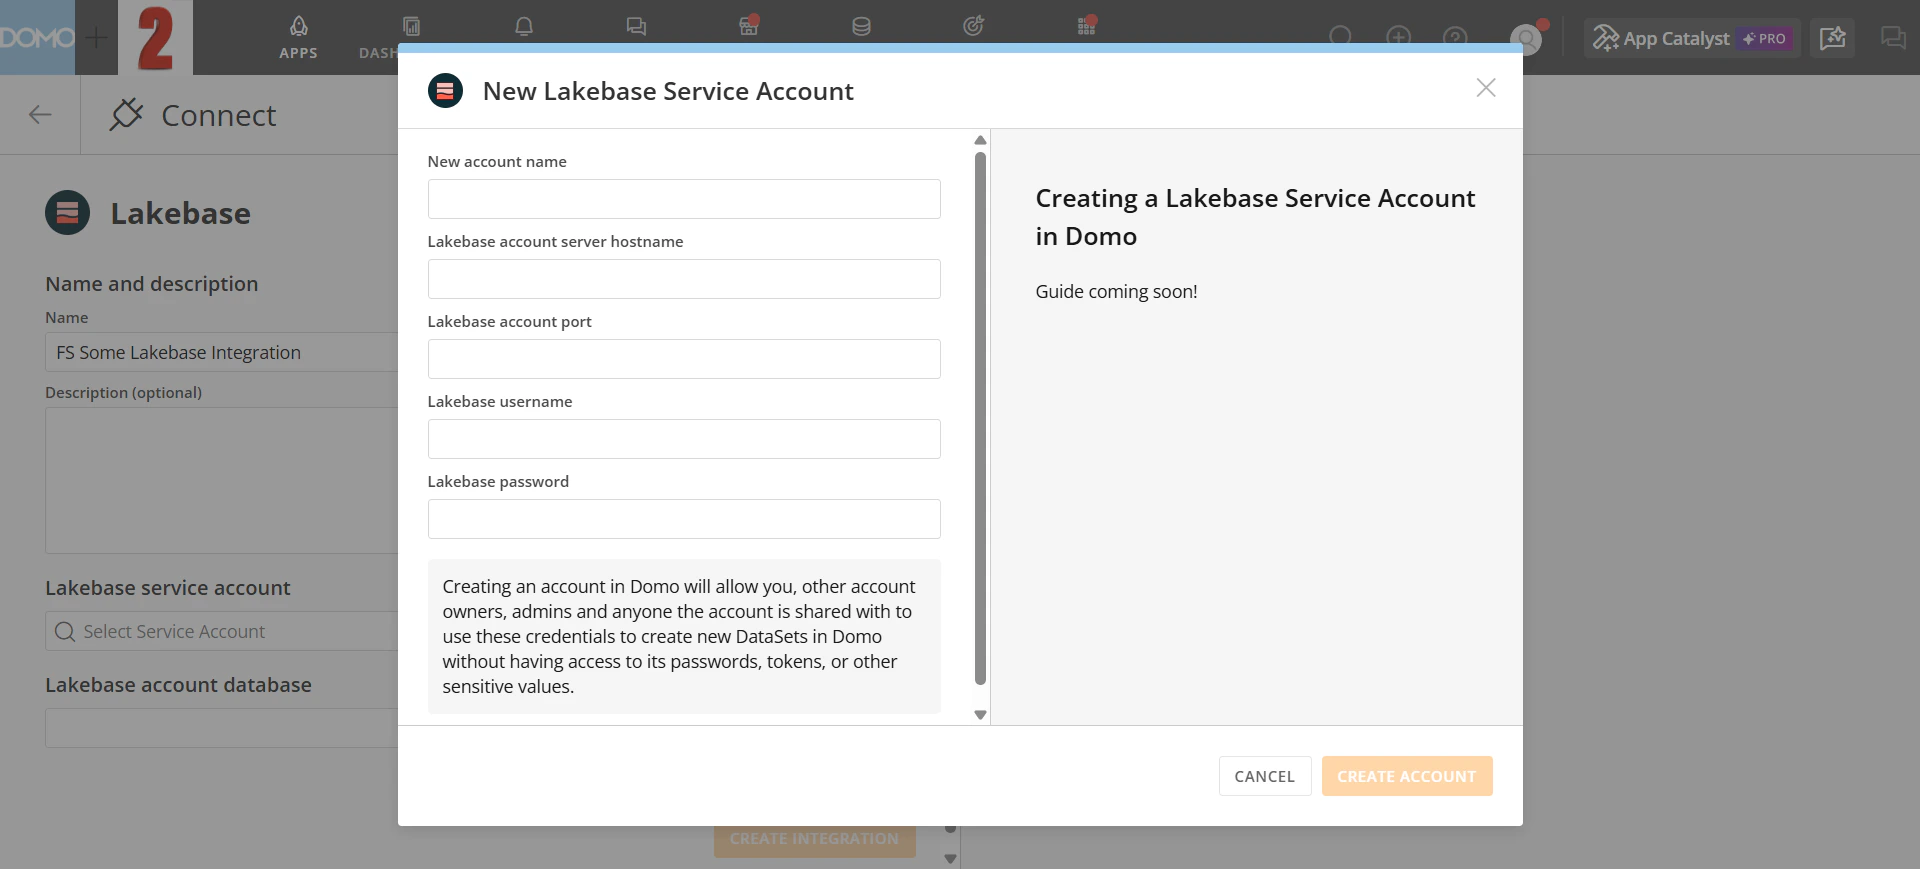
- Enter a New Account Name to identify this service account within Domo. Use a clear, distinctive name to avoid confusion with other Lakebase accounts and integrations.
- Enter the Lakebase Account Server Hostname — the server name or IP address of your Lakebase instance.
- Enter the Lakebase Account Port — the port your Lakebase instance uses for incoming connections.
- Enter the Lakebase Username — the native username you created in Lakebase.
- Enter the Lakebase Password — the native password you created in Lakebase.
- Select Add Account.
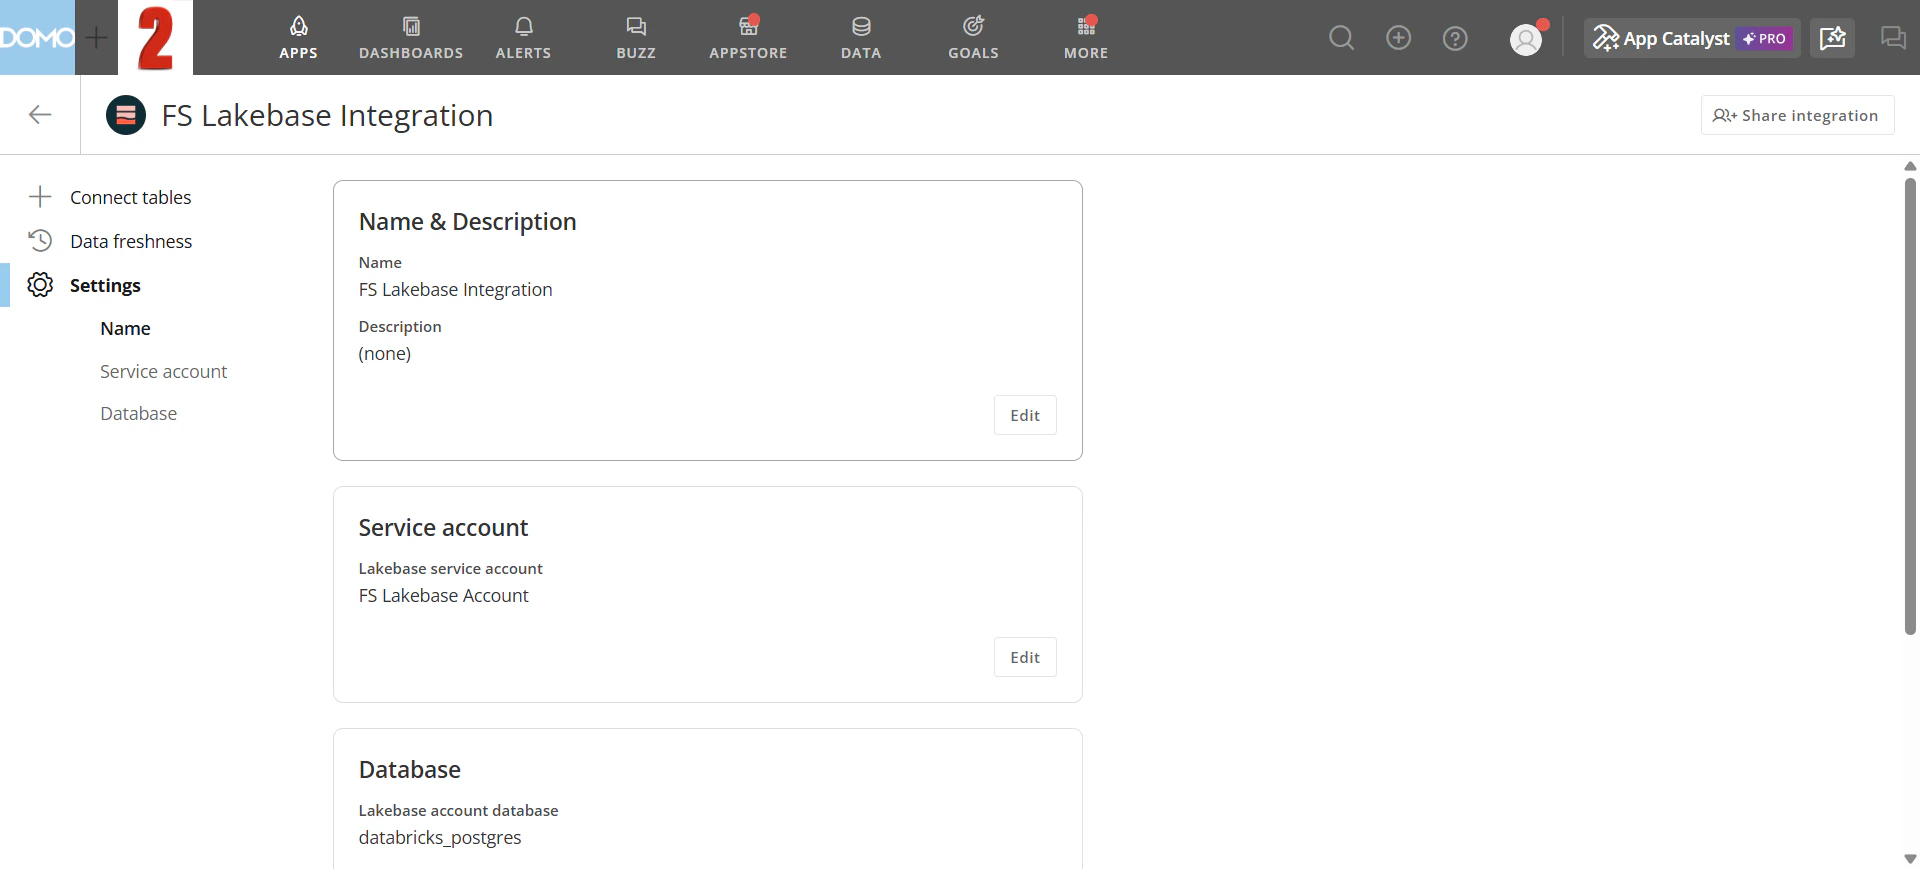
Manage Existing Integrations
Select Manage Integrations from the Domo on Lakebase page to view existing integrations. The Lakebase Cloud Integrations page lists each integration’s name, number of connected tables, configuration type, and your access level. You can also select + Add New Integration from this page.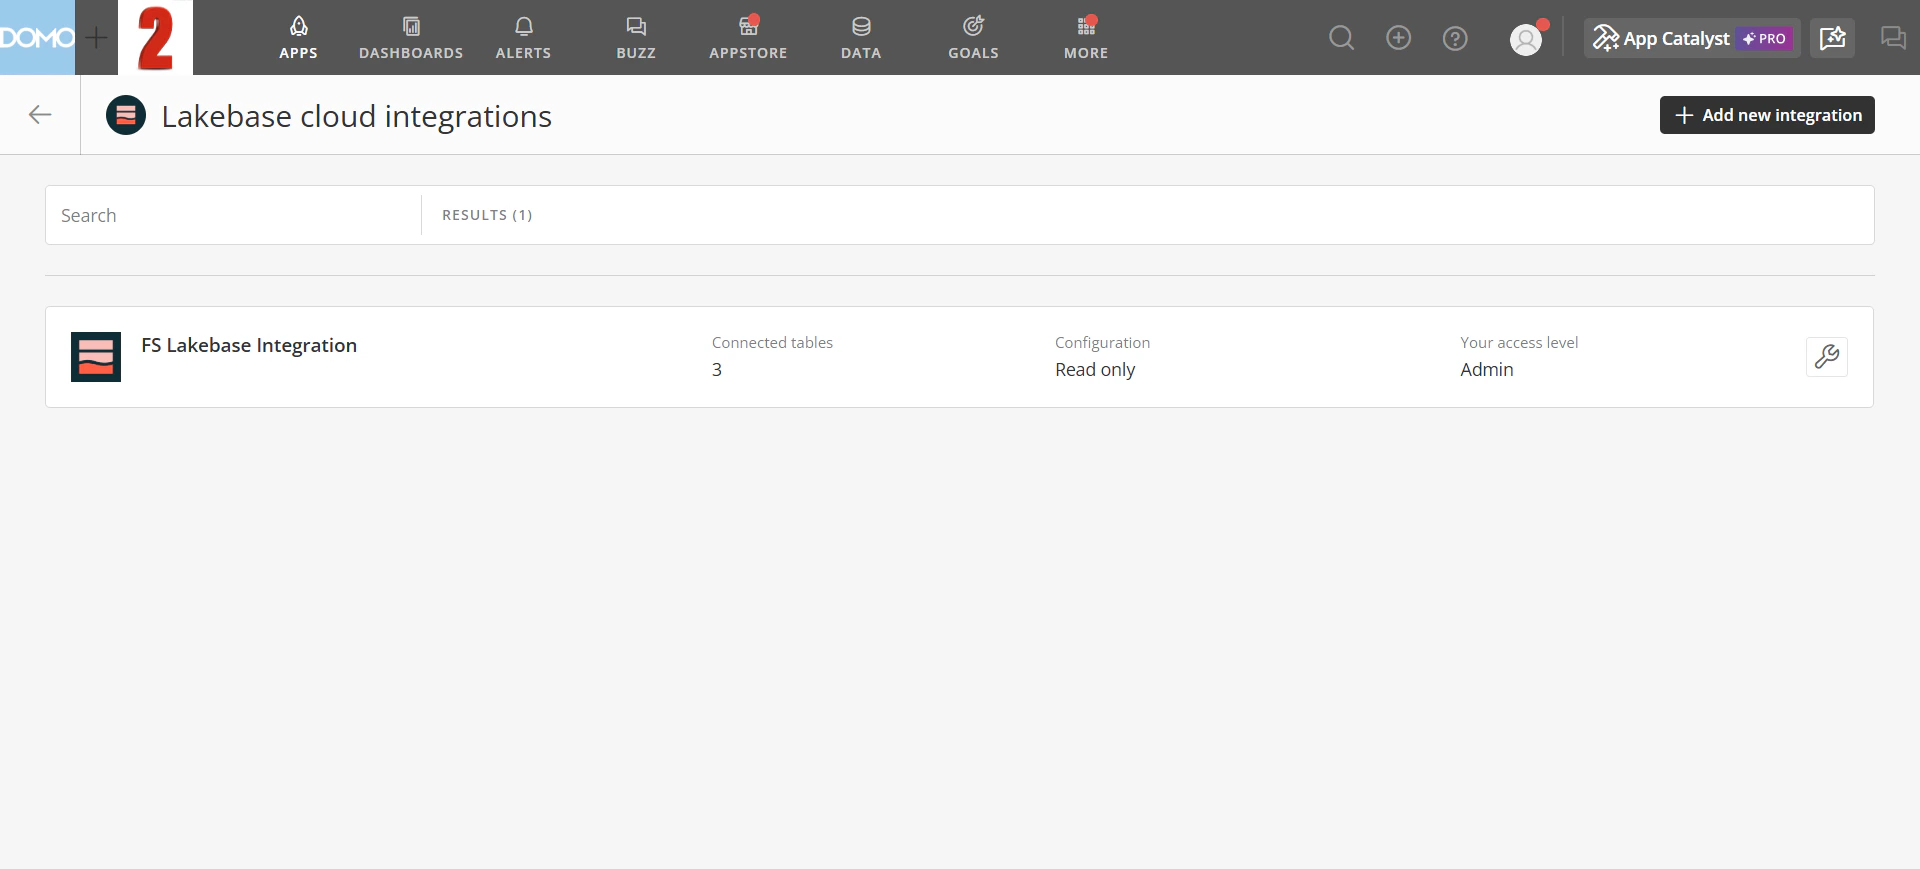
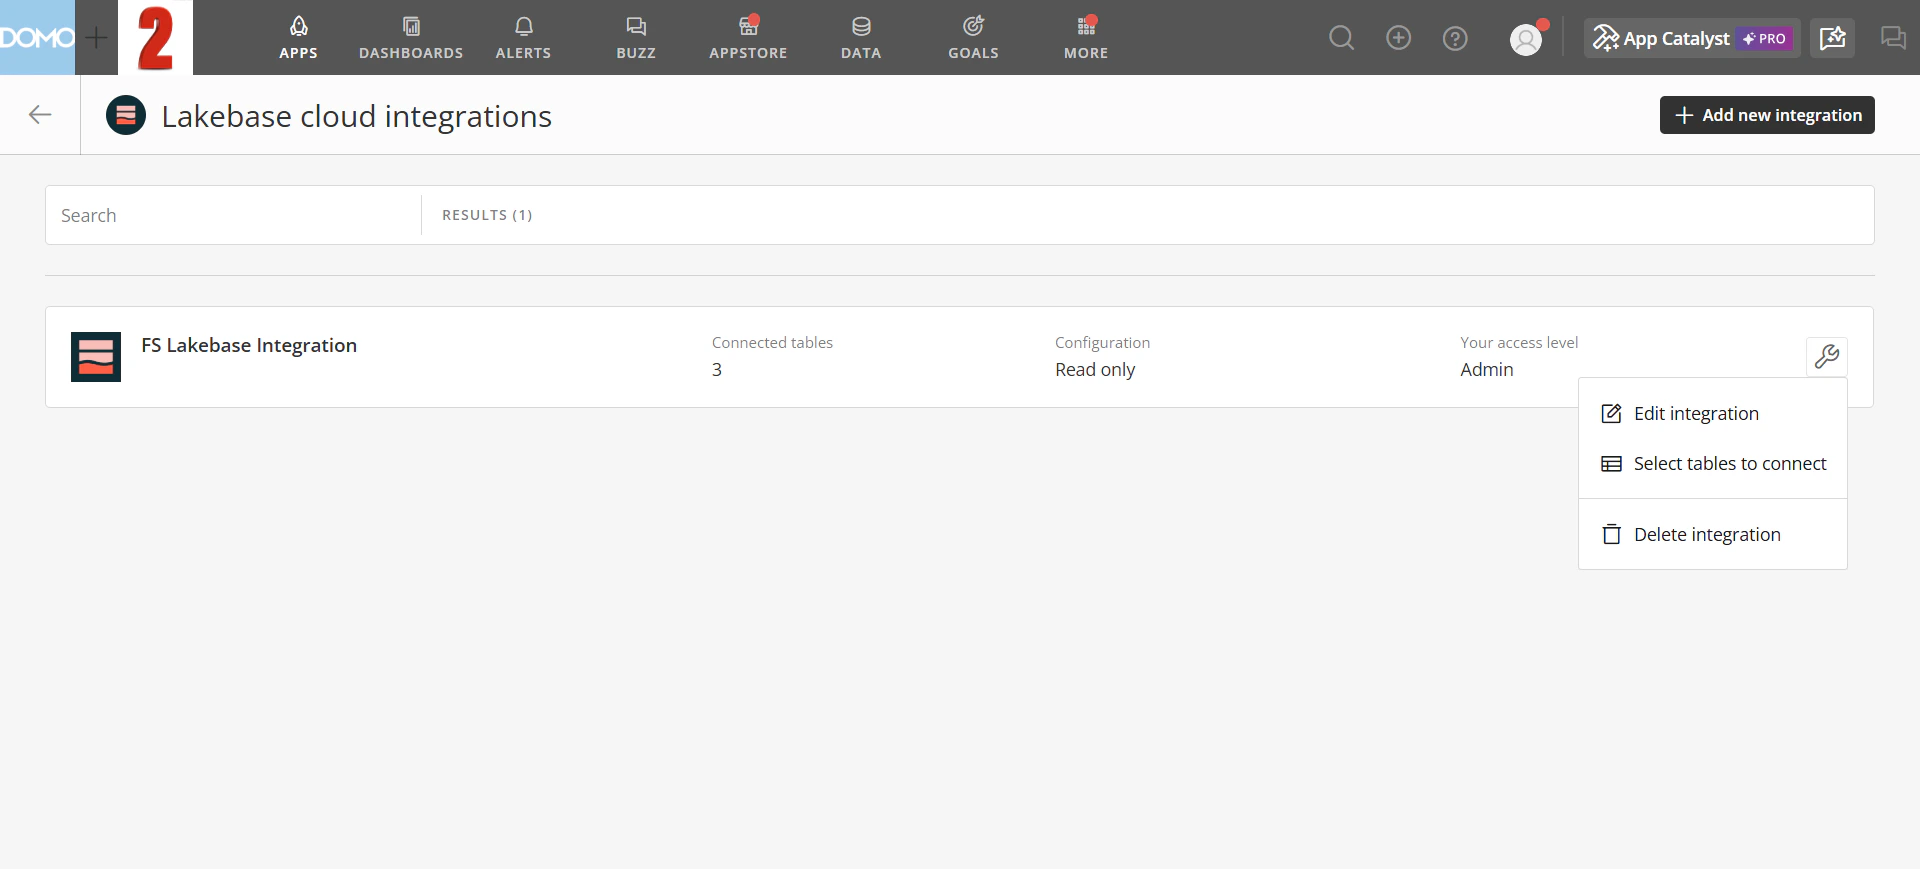
- Edit Integration — update the integration’s name, description, service account, or database settings. From the integration settings page, you can also connect tables, configure data freshness, and share the integration with other users. For details on data freshness and account sharing, see Cloud Integrations Overview
- Select Tables to Connect — add or remove Lakebase tables from the integration. See Connect Tables in Cloud Integrations for instructions
- Delete Integration — permanently remove the integration